HTML5 Canvas 기초 (1)

캔버스라이브강좌

1
2
3
4
5
6
7
8
9
10
11
12
13
14
15
16
17
18
19
20
21
22
23
24
25
26
27
28
29
30
31
32
33
34
35
36
<!DOCTYPE html>
<html>
<head>
<title>Canvas</title>
<meta charset="UTF-8" />
<meta name="viewport" content="width=device-width, initial-scale=1" />
<style>
body {
margin: 0;
}
.canvas {
width: 500px;
height: 300px;
background: #eee;
}
</style>
</head>

<body>
<h1>캔버스 사이즈 설정</h1>
<canvas class="canvas" width="500" height="300"></canvas>
<canvas class="canvas canvas2" width="1000" height="600"></canvas>

<script>
const canvas = document.querySelector(".canvas");
const canvas2 = document.querySelector(".canvas2");
const context = canvas.getContext("2d");
const context2 = canvas2.getContext("2d");

context.arc(100, 100, 50, 0, Math.PI * 2, false);
context2.arc(100, 100, 50, 0, Math.PI * 2, false);
context.fill();
context2.fill();
</script>
</body>
</html>

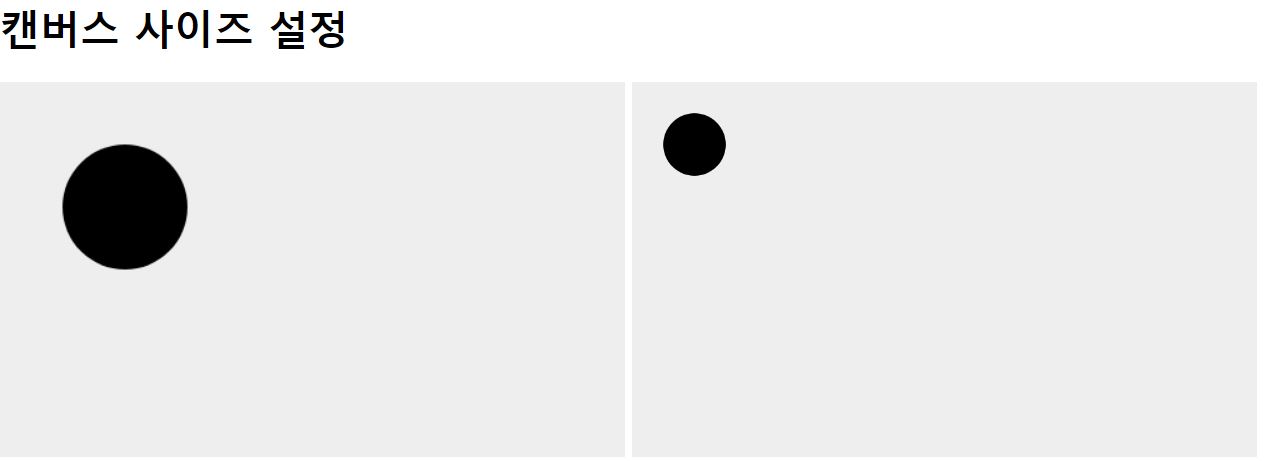
  • 캔버스를 지정하고 queryselector로 캔버스 객체를 지정, 특정 함수를 이용함으로써 해당 객체 내에서 도형을 그릴 수 있다
  • 자세한 내용은 MDN 문서를 참고
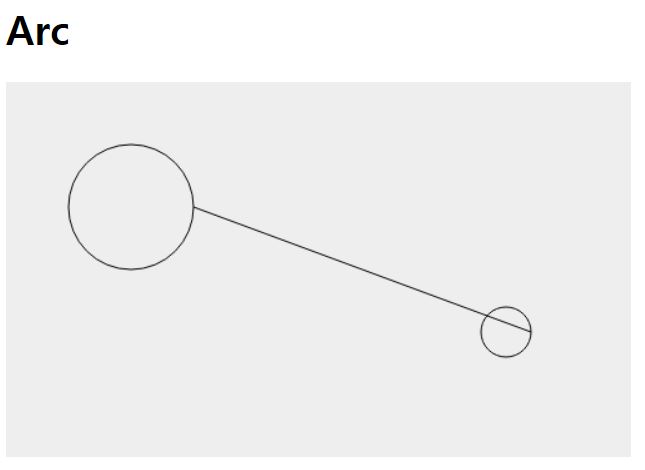
  • arc(호) 함수는 arc(x, y, radius, startAngle, endAngle, anticlockwise)와 같은 형식으로 사용하며 (x, y)가 원점이고 반지름이 r인 anticlockwise 방향으로 향하는 (기본값은 시계방향 회전) 호를 그리게 된다. 이 원은 startAngle 에서 시작하여 endAngle 에서 끝남
1
2
3
4
5
6
7
8
const canvas = document.querySelector(".canvas");
const context = canvas.getContext("2d");

context.fillRect(50, 50, 100, 100);
context.fillStyle = "red";
context.fillRect(0, 0, 100, 100);
context.clearRect(80, 80, 50, 50);
context.strokeRect(150, 150, 100, 100);

  • fillRect(사각형)함수는 fillRect(x, y, width, height)와 같은 형식으로 사용함 x, y 위치에 width, height에 맞는 사각형을 그린다
  • clearRect는 특정한 부분을 지우는 함수로 받는 인자는 fillRect와 같다. 마찬가지로 strokeRect는 사각형의 외선만 그리는 함수.
1
2
3
4
5
6
7
8
9
10
11
12
13
14
function draw() {
var ctx = document.getElementById("canvas").getContext("2d");
for (var i = 0; i < 6; i++) {
for (var j = 0; j < 6; j++) {
ctx.fillStyle =
"rgb(" +
Math.floor(255 - 42.5 * i) +
", " +
Math.floor(255 - 42.5 * j) +
", 0)";
ctx.fillRect(j * 25, i * 25, 25, 25);
}
}
}

  • fillStyle은 한번 설정되면 그 색으로만 도형을 그리기 때문에 각각 다른 색깔로 그리고 싶다면 매번 새로 설정해주어야한다.
  • 위의 draw 함수를 사용한다면 색상 팔레트와 유사한 결과를 얻을 수 있다.

1
2
3
4
5
6
7
8
9
10
11
12
13
14
15
const ctx = document.querySelector(".canvas").getContext("2d");

ctx.beginPath();

ctx.moveTo(100, 100);
ctx.lineTo(300, 200);
ctx.stroke();
ctx.lineTo(100, 200);
ctx.stroke();
ctx.lineTo(100, 100);
ctx.stroke();
ctx.fillStyle = "red";
ctx.fill();

ctx.closePath();
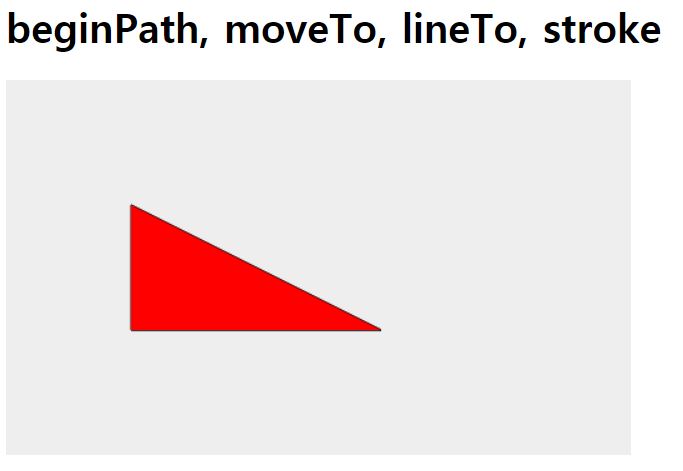
  • 선을 그리고자 할 때엔 (1) path를 시작, (2) 시작점으로 옮기고, (3) 이동경로를 설정하고, (4) 선을 그려준다. 만약 이 때 이 선들이 하나의 면을 만든다면 색을 주고 칠할 수도 있다.
  • beginPath()와 closePath()는 시작과 끝을 알리는 함수이며 moveTo, lineTo는 각각 x좌표와 y좌표를 매개변수로 받는 함수이다. 이 두 함수로 경로를 설정한다면 이후에는 stroke()나 fill()과 같은 함수로 선을 그리거나 도형을 채울 수 있다.

  • closePath()로 한 번 끊어주지 않으면 위 그림처럼 도형들이 이어져 그려지게 된다